One Room Challenge, Week 6!


Happy Thursday friends!

It’s Week 6 of the One Room Challenge, and I am anxious for this to be over already! hahaha.

It’s the homestretch—2 more weeks to go, so I’ve got all my ducks in a row, just checking off my list one by one.

What did I check off this week? Wallpaper installation, buying wood/stain for my floating frame, purchasing my floating shelf, picking up artwork, installing one more white board in my corkboard area, and deciding to finally paint my kids easel—I need to pick up the color tomorrow.

Today I’m going to share my wallpaper installation with you!

This past weekend, my friend Laura so graciously offered to help me hang this, and I’m so glad she did because my hubby & I would have definitely fought putting this up! Hahaha! Some things are just better achieved with friends..

First things first! I shook the dust off my cutting board & X-acto knife that I haven’t used in years, yanked out my T-square which has a vintage ‘aged with spray adhesive’ look, and pulled out my triangle that I haven’t used since ‘06/‘07 when I was still hand drafting at school (I’ll use this to flatten the paper).

We started by measuring where the middle of the wall stood, and began laying out blue tape at the top of wall where it meets the beam. We added more tape on the bottom at baseboard, to understand positioning of the first panel. We knew that if we got this first panel right, everything else would flow perfectly.

Next, we pulled the adhesive off 9” and pasted to the wall. Best way of explaining removable wallpaper—it’s like a GIANT sticker that you need to put on straight. Laura kept the paper taut and pulled off the back paper for the adhesive while I worked from the top with the triangle to stick paper on, make it flat and soothe out bubbles.

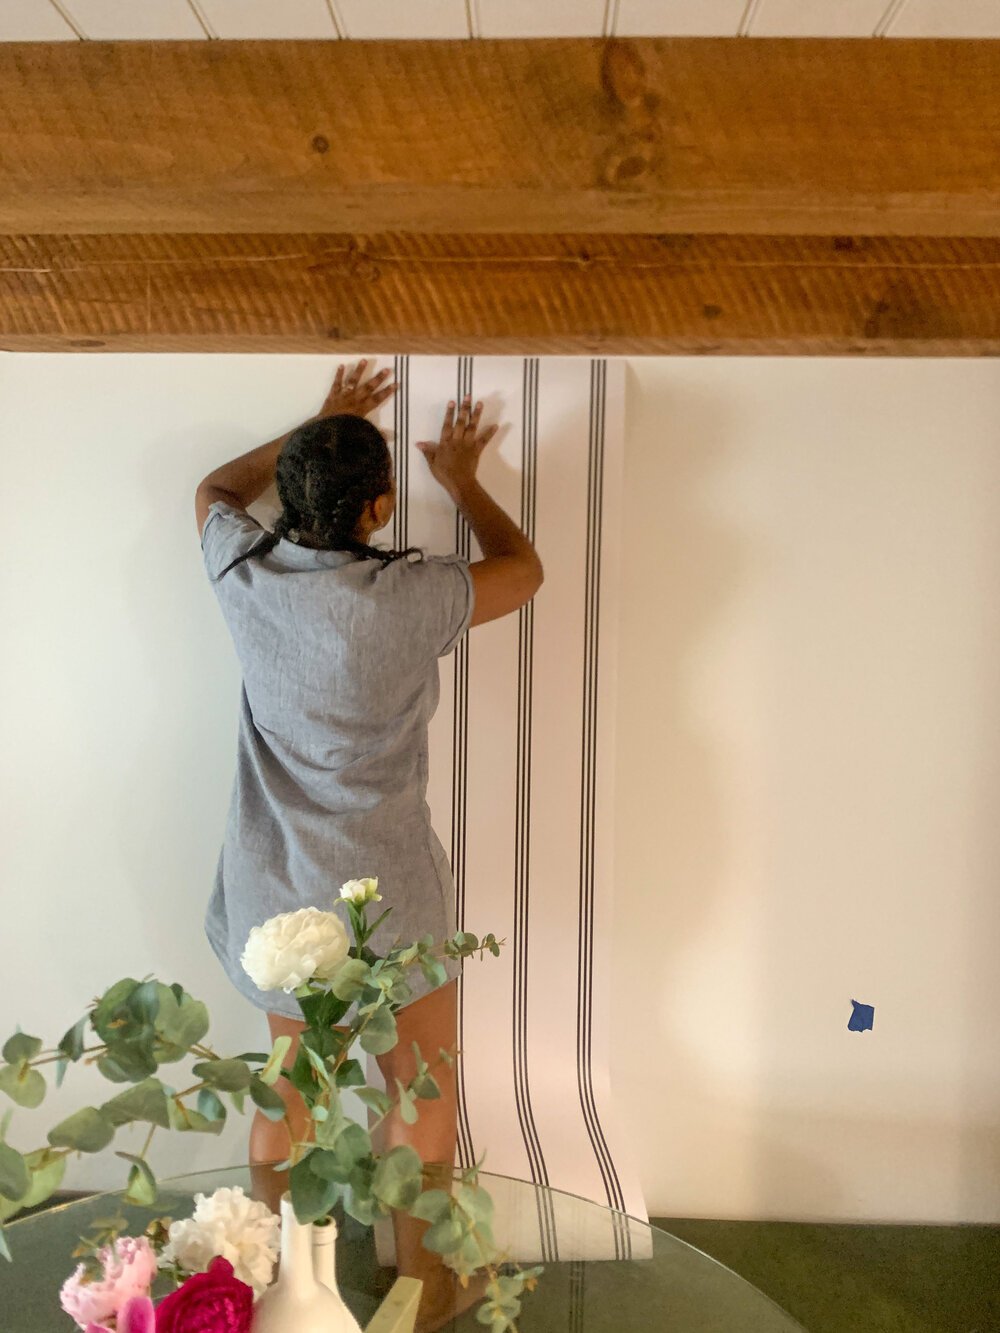
It was a little tricky moving forward because we really had to gauge from the baseboard end whether the sheet was straight… The beam was not straight—so we had to blue tape the panels up before pulling off the adhesive, starting from the baseboard end. Probably would have been easier with a straight ceiling or crown molding…

But it worked out great! We got through it, in the heat, really worked as a team, and it helped that Laura brought some alcoholic beverages to make us feel like real subcontractors! hahaha just kidding, don’t want to generalize. :)

I have a timelapse in my stories if you want to see us install it! NOTE: not in REAL time!

The result was so good! Walking down to my dining room the morning after, felt just like the day after Christmas; wanting to catching a glimpse of it again, making sure it is real!

I’m so excited to get this room done and share the final results with you!

It’s coming along perfectly.

Next up: I’ll document my foray into custom frame-building, when I make the floating frame for my main art piece in the office. Stay tuned!

Thank you for following along with me on this journey! Final reveal will be between June 25th & July 3rd! (I plan to reveal on the 26th if all goes right)

If you missed last week’s blog, you can catch it here. And as always, keep up with other participants on the ORC blog—you might meet a few new people to follow! :)